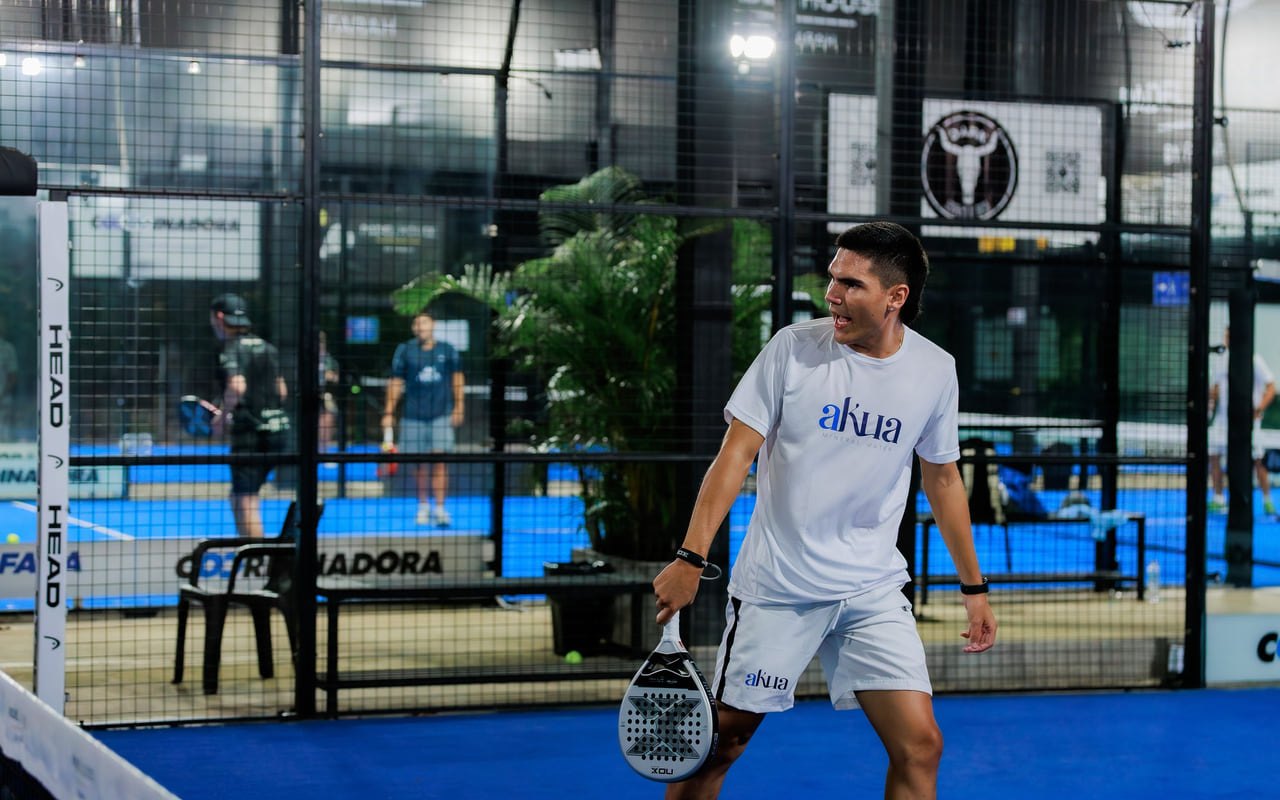
The Padel Volley: How to Win at the Net
The volley is the workhorse of net play — it's how you finish points. Grip, high vs low volley, footwork, where to aim and drills to build control.

Contents
- What the volley is and why it wins
- Volley, bandeja and block: what to play at the net
- Grip: one for both wings
- Stance and footwork
- The ready position at the net
- Split-step and step in
- The volley step by step
- High and low volleys: different jobs
- The high volley (above the net)
- The low volley (below the net)
- Where to aim
- Common mistakes and how to fix them
- Drills for the volley
- Drill 1. Volley against a wall
- Drill 2. Volley for depth (control)
- Drill 3. The low volley (patience)
- Drill 4. Volley-to-volley
- How the volley fits into net play
- Frequently Asked Questions
- How is a volley different from a bandeja?
- Which grip should I use for the volley?
- Why does my volley keep going into the net?
- Can I attack a low volley?
- Where should I aim my volleys?
- How do I start learning the volley?
In padel, points are won at the net. You can defend beautifully off the back glass all day long, but until you can volley with confidence you'll be handing the initiative to your opponents on every single rally. The volley isn't a flashy shot — it's the most useful one in the game. It's how the team that owns the net keeps the pressure on and turns a positional edge into a point. Let's break the volley down the way we coach it at PlayPadel: step by step, with no wasted power and honest drills.
What the volley is and why it wins
The volley (from the Spanish volea) is a shot hit before the ball bounces, played while you stand at the net. In padel the volley isn't just one shot among many — it's the main tool of the attacking pair. The logic of the game is simple: the team that takes the net first dictates the tempo, while the team stuck at the back glass is forced to defend. The volley is how you hold the net you've won and stop your opponents coming forward.
It's important to see how padel differs from tennis. In tennis a volley often ends the rally with a single winner. In padel the walls are in play, and putting the ball past your opponent with one shot is almost impossible — they'll dig it out off the glass. So in padel the volley usually doesn't kill the point — it strangles it. You return the ball low, deep and awkward, over and over, forcing your opponent to throw up a lob from a bad position. And that lob is what your bandeja or smash is waiting for.
Aziz Karimov, our national-team coach with a 6.0 rating, puts it this way: "Lobs and overheads win points; the volley sets them up. A pair that can't volley calmly loses the net within two or three balls — and the whole rally starts over."
Volley, bandeja and block: what to play at the net
Three different shots do the work at the net, and mixing them up is a classic amateur mistake. It's easier to keep this table in mind:
| Shot | When to play | Ball height | Backswing | Goal |
|---|---|---|---|---|
| Volley | Ball comes straight at you, body height | Knee to shoulder | Very short | Control, depth, at the feet |
| Bandeja | Opponent lobs over you | Above your head | Short, from the shoulder | Hold the net, return deep |
| Block volley | Hard, fast ball at you | Any | Almost none | Just absorb and return |
To put it simply: anything that reaches you above the head is overhead territory (bandeja, víbora, smash). Anything that arrives at body height or below is a volley. And when the ball comes fast and right at you, the volley shrinks to a block: you just present the open face and send the ball back without a swing.
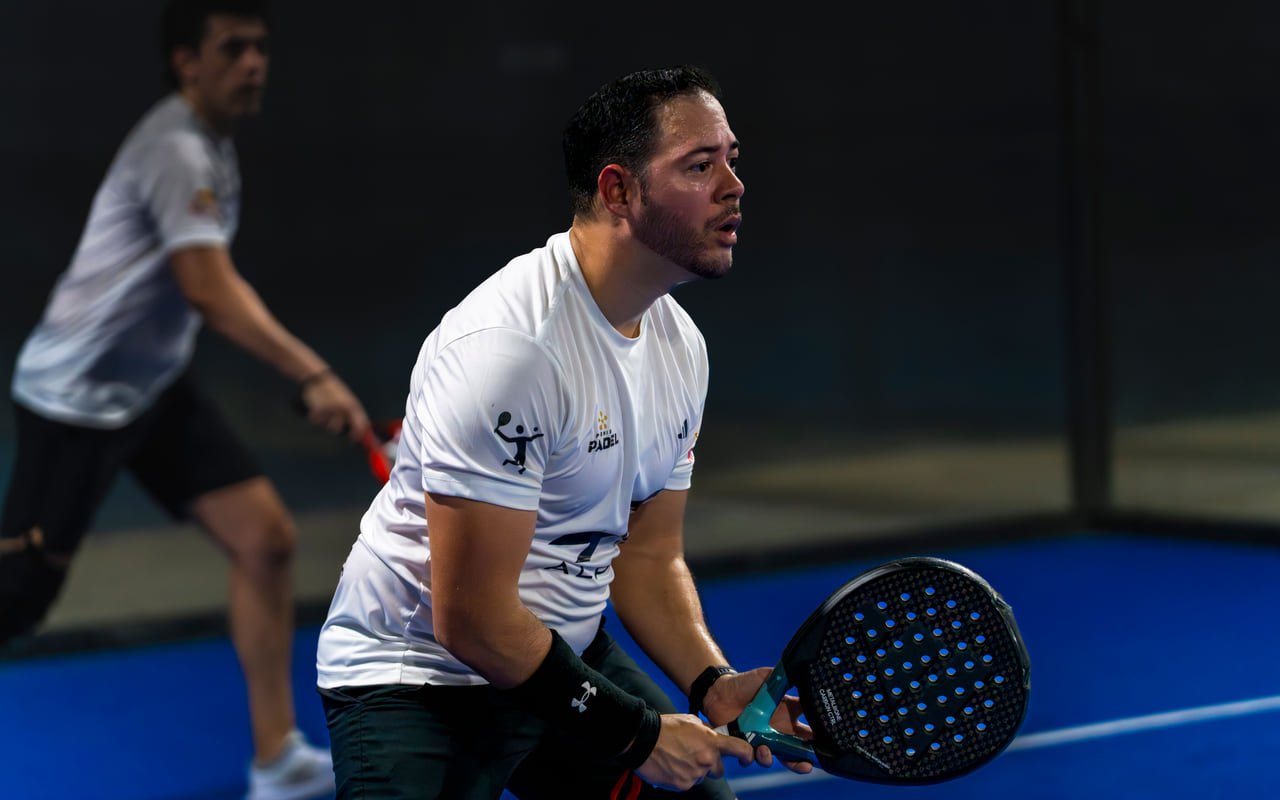
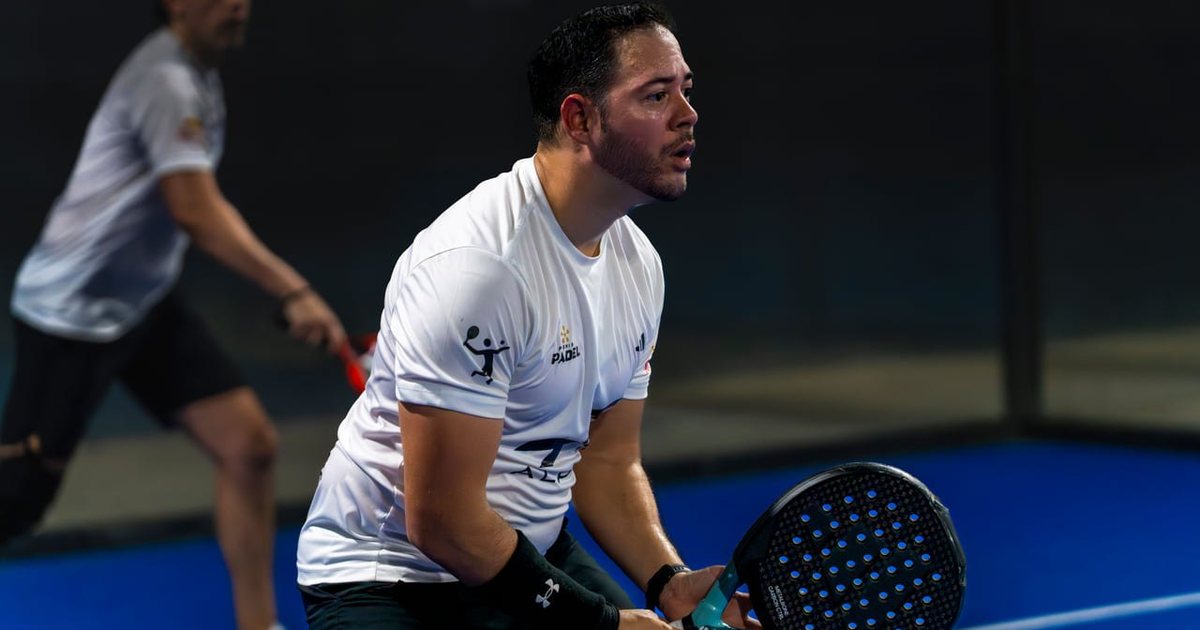
Grip: one for both wings
The volley — forehand and backhand — is played with the continental grip (the "hammer grip"). Hold the racket as if you were about to drive a nail with its edge: the base of the index finger sits on the second bevel of the handle.
Why this grip? Because at the net there's no time to change grips. The ball comes back in a fraction of a second, and if you're holding a forehand grip you simply won't have time to switch for a backhand volley. The continental grip is the compromise that lets you play both wings equally without moving your hand. The same grip works for the bandeja, víbora and smash, so moving between every shot at the net happens with no extra fuss.
An open continental face also naturally produces a touch of underspin — and that's exactly what keeps the ball low and under control. If you're still choosing a racket, look at the more control-oriented models: a soft racket with the balance toward the handle forgives an off-centre volley. More on that in our guide to choosing your first racket.
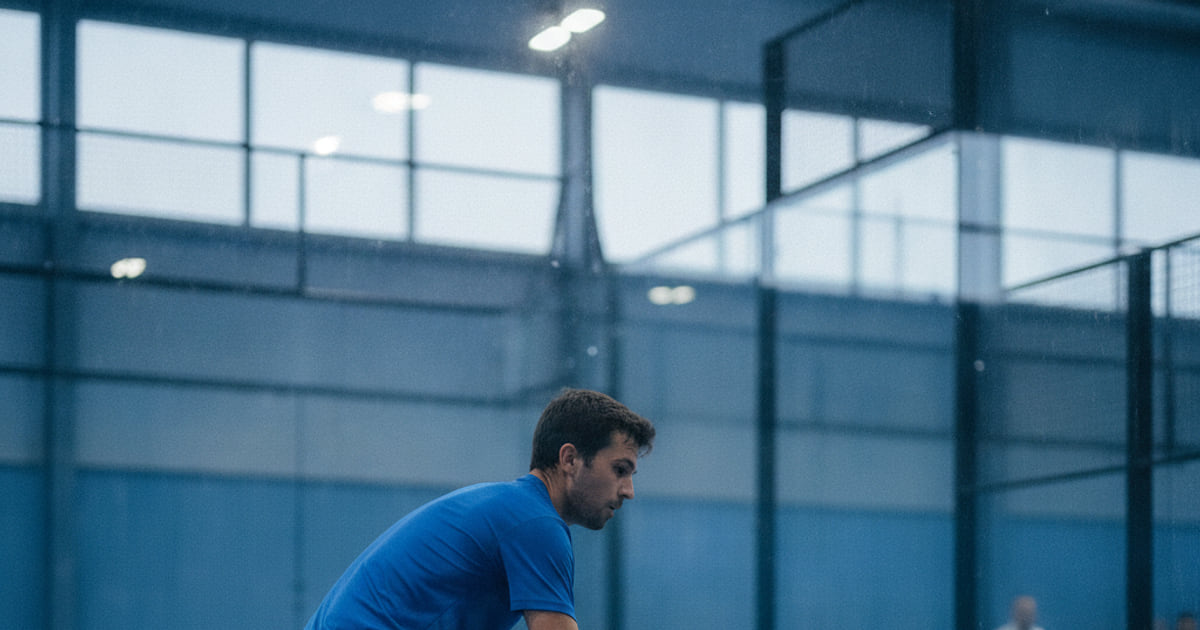
Stance and footwork
A good volley starts not with the hand but with how you stand and move.
The ready position at the net
- Feet slightly wider than the shoulders, knees soft, weight on the balls of the feet.
- Racket up in front of the body, head roughly at eye level.
- The free hand cradles the throat of the racket — it helps your balance and your instant turn.
- Eyes on your opponent's racket, not on the ball. You need to read the shot as early as possible.
Split-step and step in
- Split-step. The moment your opponent strikes the ball, make a small hop and land on both feet — it "reloads" you and lets you push off in any direction.
- Shoulder turn. Don't swing the arm — turn the body toward the ball. For a right-hander, on a forehand volley the right shoulder drops back a touch, and on a backhand volley the left.
- Step into the ball. Step forward with the opposite foot (left foot on a forehand volley) and meet the ball in front of the body. That step gives the volley all the depth it needs — without it you'll be poking the ball with one arm.
- Recover to the net. After the shot, step forward again and reset the ready position. In padel you must keep squeezing the net.
Marco Rossi, our coach from Italy with a 6.5 rating and World Padel Tour experience, repeats one thing in training: "The volley is hit with the legs. The hand only holds the racket at the right point — all the depth and control come from the step forward and a stable body."
The volley step by step
Once your feet have got you into position, the shot itself breaks down into a few simple elements. This is the volley "recipe" — drill it in order.
- Short preparation. Take the racket slightly to the side and forward — head above the wrist. There's almost no backswing: the volley is not a swing, it's a controlled push.
- Contact in front of the body. Meet the ball ahead of you, on an extended but not fully locked arm. Contact behind the body line is the number-one reason a volley goes into the net.
- Firm wrist. The wrist is locked, the racket an extension of the forearm. No "rolls" or flicks — on a volley they kill control.
- A touch of underspin. Move the open strings slightly down across the ball. The underspin gives backspin, so the ball flies lower and "sits down" after the bounce instead of bouncing up nicely for your opponent.
- Short follow-through. The racket carries on toward the target for just 20–30 cm and stops. A long follow-through is no longer a volley.
- Step forward. Straight after the shot, step toward the net and reset. The shot isn't over until you're ready for the next one.
A rule we give every student: the volley is a block plus direction, not a hit. The moment you start "hitting" the volley with your arm, control is the first thing to leave.
High and low volleys: different jobs
The same shot does two very different jobs depending on the height of the ball.
The high volley (above the net)
If the ball reaches you above net height, you're in an attacking position. Here you can be more decisive:
- Hit the ball down — deep into a corner or at the feet of an opponent moving forward.
- Add a little more tempo, but not power: the goal is to deny time, not to blast through.
- A good high volley at the feet of an incoming player almost always draws a weak reply or an error.
The low volley (below the net)
If the ball has dropped below the net, it's a defensive situation, and the golden rule is don't attack:
- Bend the knees and lower yourself to the ball rather than reaching down with the arm.
- Open the racket face more and play softly, with underspin.
- The aim is to return the ball low and deep, buy time and keep the net — not to win the point.
The most common amateur mistake is trying to attack a low volley. A ball below the net can't be hit downward, so a hard shot either goes into the net or floats up nicely for your opponent. On the low volley, patience wins.
Where to aim
Since killing a point with one volley is hard in padel, the value of the shot is in its placement. Three working targets:
- At the feet. The safest target, especially against an opponent moving forward. A ball at the feet can't be played cleanly — it either hits the net or floats.
- Deep into the corner. A deep volley pushes your opponent back to the glass and stops them attacking. From there the rally swings your way again.
- Into the open diagonal. If the opponents have shifted to one side, a short crosscourt volley into the far corner makes them run across the whole court.
A quick reminder of the court geometry so it's clear why this works: a padel court is 20×10 metres, enclosed on every side by glass and mesh, with the walls in play, and a net about 88 cm high in the centre. That's exactly why the ball at the net must be kept low: a touch higher and your opponent reaches it and hits down; below the net and they can no longer attack.
When the whole pair is at the net, you also need to share the zones — who takes the middle, who covers the line. We've written about this in detail in our piece on court positioning, and calling each ball quickly is covered in doubles communication.
Common mistakes and how to fix them
- A big backswing. The player "swings" the volley like a groundstroke. Fix: imagine you're simply catching the ball with the racket and pushing it forward — there's almost no backswing.
- Contact behind the body. Late contact kills both control and depth. Fix: meet the ball in front, saying to yourself "forward — step — contact".
- A soft, wandering wrist. A loose wrist turns the volley into a lottery. Fix: lock the wrist, racket as an extension of the forearm.
- Trying to attack a low volley. A hard shot on a ball below the net flies out or into the net. Fix: below the net, only soft, with underspin, deep.
- Flat-footed. Without a split-step you're late to the fast ball. Fix: train yourself to hop as your opponent strikes.
- Watching the ball, not the opponent. You react too late. Fix: watch your opponent's racket and start moving earlier.
Many of these mistakes show up in your very first weeks on court — we've gathered them in a separate piece on first-month mistakes.
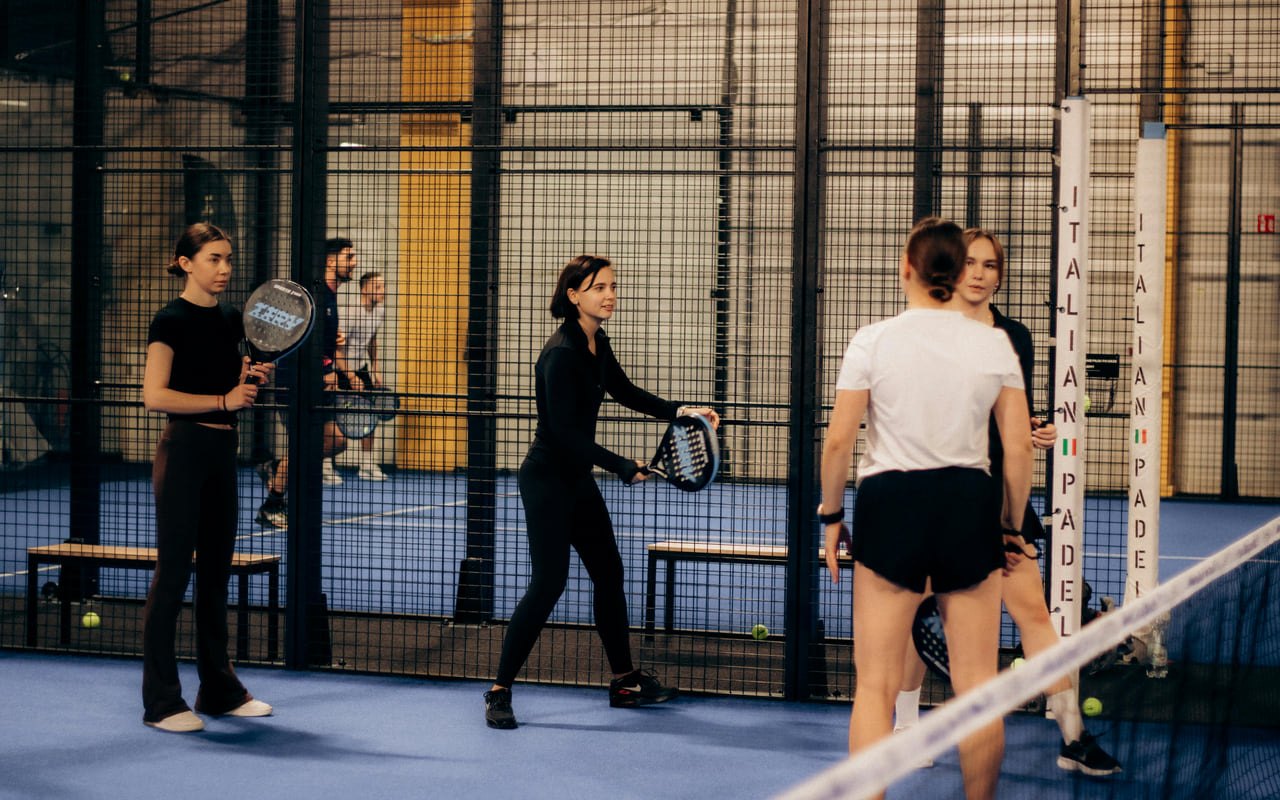
Drills for the volley
You can't learn the volley "in your head" — you need reps. Here's the progression we use in training.
Drill 1. Volley against a wall
Stand 3–4 metres from a flat wall and volley against it without a bounce — forehand and backhand. The aim is to feel the short contact and the firm wrist.
- 3 sets of 20–30 touches. Listen to the sound: a good volley sounds like a short "click", not a dull thud.
Drill 2. Volley for depth (control)
A partner feeds balls from the baseline; at the net you return the volley into the far zone, past a line marked with cones.
- 4 sets of 10 reps, forehand and backhand. Only count balls that land deep.
Drill 3. The low volley (patience)
A partner deliberately feeds balls below the net. Your job is to return them low and deep, softly and with underspin, without trying to attack.
- 3 sets of 10 reps. Only count a ball your opponent couldn't have hit down.
Drill 4. Volley-to-volley
Two players at the net trade volleys without a bounce for as long as possible. This builds reaction, the split-step and control all at once.
- Runs of 20+ touches. Count your longest streak with no error.
With a coach, progress comes far faster: they spot the big backswing, the late contact or the soft wrist on the spot and fix it in the moment. You can find a net-play specialist in the PlayPadel coaches section, and drill the shot at any of the Tashkent courts with a decent net and even walls.
How the volley fits into net play
The volley isn't a separate trick — it's the connective tissue of the whole attacking game. A typical rally looks like this:
- You serve and move straight forward — we covered this in our piece on the serve.
- The first ball on the move is the first volley (volea de salida): you don't need to hit it, just return it low and deep, securing your spot at the net.
- From there you hold the net with volleys, returning the ball at the feet and into the corners again and again.
- Your opponent, strangled by low volleys, sooner or later throws up a lob from a bad position.
- Your bandeja or smash is waiting for that lob — and the point is yours.
That's exactly why you should build the volley before the flashy overheads: without it you simply won't survive to the moment when a spectacular shot is on. Padel is one of the fastest-growing sports in the world, and the level in Tashkent rises every season. A pair that volleys calmly and consistently almost always outplays opponents who bet on power. Want to test yourself for real? Keep an eye on the amateur tournaments in the events section.
Frequently Asked Questions
How is a volley different from a bandeja?
A volley is hit before the bounce on a ball at body height or below, with a very short backswing. A bandeja is an overhead off your opponent's lob. Roughly: anything above the head is the bandeja and other overheads, anything at body height is a volley.
Which grip should I use for the volley?
The continental ("hammer") grip — the same one for both forehand and backhand. There's no time to switch grips at the net, and the continental grip lets you play both wings equally while also giving you a touch of underspin for control.
Why does my volley keep going into the net?
Most often because of late contact behind the body and too big a backswing. Meet the ball in front of you, cut the backswing almost to nothing and lock the wrist — the volley is a short push, not a swing.
Can I attack a low volley?
No. A ball below the net can't be hit downward, so a hard shot goes into the net or floats up to your opponent. Play the low volley softly, with underspin, low and deep, to buy time and hold the net.
Where should I aim my volleys?
The safest targets are at the feet of an advancing opponent and deep into the corner. Less often, but effectively, a short crosscourt volley into the open diagonal if the opponents have shifted to one side. Killing a point with one volley is hard in padel, so placement is what counts.
How do I start learning the volley?
With short runs against a wall without a bounce, to feel the firm wrist and the short contact. Then add partner feeds for depth and the low volley, and only then game-like volley-to-volley runs. Progress is fastest under a coach's eye.
The blog's deepest column: advanced shots (bandeja, víbora), positional play, periodised training and honest gear breakdowns — grounded in the experience of Tashkent's playing coaches.
Related articles
 Technique
The Padel Return: How to Take Control Early
The return is the most underrated shot in padel. Learn the ready position, three return options and a step-by-step technique to stop gifting away points.
 Technique
The bajada: counter-attacking off the back glass
The bajada is padel's most aggressive baseline shot. Learn to read the lob, meet the ball coming off the glass at the right height, and turn defence into offence.
 Technique
The chiquita in padel: the quiet shot that steals the net
The chiquita is a slow, low ball played at the feet of the netters. Learn when it beats a lob, how to hit it, and where to aim to take the net safely.