How to Hold a Padel Racket: The Continental Grip
The grip is padel's most underrated skill. We break down the continental 'hammer' grip: how to find it, how tight to hold, and where it works.

Contents
- Why the grip is padel's most underrated skill
- The continental grip: the only one you need
- One grip for every shot at the net
- How to find the continental grip in 30 seconds
- Grip pressure: don't strangle the racket
- One grip for everything: where it works and where it doesn't
- The neutral grip and the ready position
- Grip size, overgrip and sweaty palms
- Handle size
- Overgrip and base grip
- Sweaty palms — a local reality
- Common grip mistakes
- How to groove the grip: drills
- Drill 1. The "blind grip"
- Drill 2. Wall volleys with no switch
- Drill 3. Pressure control
- Frequently Asked Questions
- What grip do you use in padel?
- How is the continental grip different from a tennis grip?
- How tightly should I hold the racket?
- Do I need to change grips for forehand and backhand?
- How do I find the right grip quickly?
- Does the overgrip affect the grip?
Ask ten amateurs what matters most in padel and not one will say "the grip." Yet it's the first thing we check on a new student — and the first thing quietly capping their ceiling. A wrong grip doesn't hurt and doesn't jump out at you, but it silently breaks every shot: the volley finds the net, the bandeja slides off the frame, and the ball off the glass keeps going the wrong way. The good news is that the grip is a skill you can fix in a single session and keep for your whole playing life. Let's break it down the way we teach it on the PlayPadel courts.
Why the grip is padel's most underrated skill
A padel racket is short, stiff and strung with nothing: there's no string tension to forgive a mistake the way there is in tennis. Everything you do with the ball — direction, spin, how low you keep it — runs straight through how your hand holds the handle. The grip is literally the interface between you and the ball, and any error there gets multiplied by every shot in a match.
There's a second, padel-specific reason. In padel the walls are in play, the tempo at the net is high, and the ball comes back in a fraction of a second. You simply don't have time to switch grips between a forehand and a backhand the way a tennis player does. So the grip has to be a single, universal one — ready to play either side with no movement of the hand. That's why almost everything in padel is built around one grip.
Sarvar Vakhidov, our coach at Tennis Padel City with 20 years of experience, puts it plainly: "I can tell within a second how long someone has played just by how they hold the racket. The grip gives everything away — the level, and exactly where the errors will be."
The continental grip: the only one you need
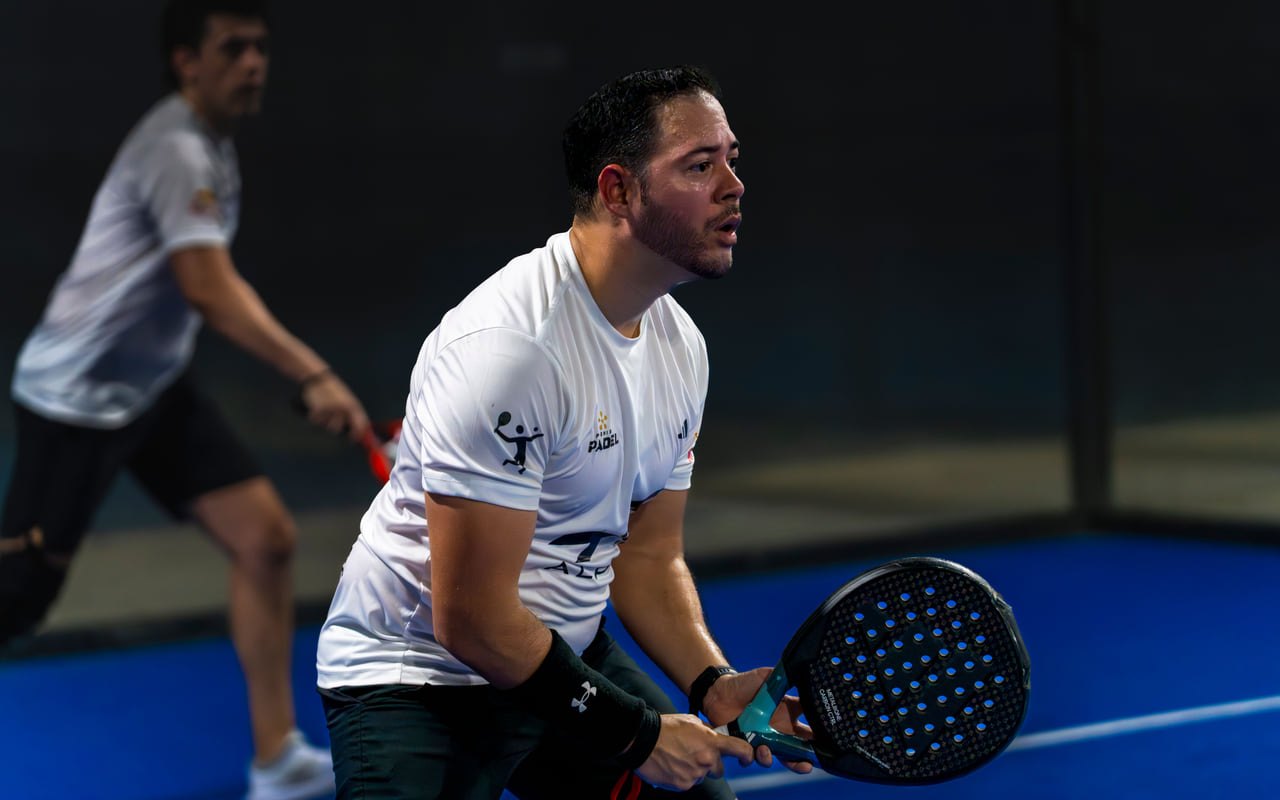
The basic — and, honestly, the only necessary — grip in padel is the continental grip. It has a more intuitive nickname: the "hammer" grip. The name is literal: take the racket by the handle as if you were about to hammer a nail with its edge. The edge of the racket points forward and the palm sits on the side, not on top.
There's one technical landmark: the base of the index finger and the "V" between thumb and index finger sit on the top-left bevel of the handle (for a right-hander). A padel handle is an octagon in cross-section; number the faces and you want the one just left of the top. Hold it there and your hand is ready to play both forehand and backhand without turning.
Why continental rather than the "tennis" grip many people arrive with? Because the continental grip is a compromise sitting exactly between a forehand and a backhand. It isn't perfect for either one on its own, but it lets you play both shots with a single hand position. In padel, where there's no time to switch, that's decisive. And an open string face at this grip naturally adds a little backspin (slice) — which is exactly what keeps the ball low and under control, both on the volley and as you move up to the net.

One grip for every shot at the net
It's worth stressing: the same continental grip plays every overhead — the bandeja, víbora and smash — as well as the volley on both sides. That's a huge advantage: once you've taken the net you switch between block, volley and bandeja without ever thinking about your hand. One grip, the whole net-play arsenal.
How to find the continental grip in 30 seconds
You don't need to measure bevels with a ruler. There are two simple ways to catch the right grip with your body instead of your head.
- The "handshake" method. Stand the racket on its edge, side-on, as if it were resting on the ground. Just "shake hands" with the handle — grab it the way you'd shake someone's hand. Your palm lands on the side, and that's the continental grip.
- The "hammer" method. Take the racket and imagine hammering a nail into the wall in front of you with its edge. Your hand sets itself correctly: edge forward, wrist neutral.
- The thumb check. Look at the "V" between thumb and index finger. It should sit roughly on the top-left bevel of the handle — not on top (that's already close to a tennis forehand) and not fully around underneath.
- The shot check. Play five volleys on the forehand and five on the backhand without changing your hand. If both come off with no switch, you've found the grip.
Run these four steps a couple of times in front of a mirror or against a wall and your hand will remember the position. From then on there's only one job: don't let it slide during play.
Grip pressure: don't strangle the racket
How you hold is half the battle. The other half is how hard. The most common mistake, even among people who already play, is a death grip at "ten out of ten." It feels like more control. It's the opposite.
- A stiff wrist means no feel. A clenched hand turns your forearm into a stick: the soft contact disappears and the ball springs off the racket like off a wall. On the volley and in defence off the glass, that kills control.
- A tight grip tires faster. Half an hour of playing like that and your forearm and hand fatigue, and your technique falls apart on its own.
- Aim for 4–5 out of 10. Hold the racket the way you hold a phone: securely, but without tension. At the moment of contact you can firm up the grip for an instant, then relax again between shots.
Fayzullo, our coach at Padel UZ and an active tournament player, tells students the same thing: "A relaxed hand is faster. You don't hit the ball — you escort it. The moment you squeeze the handle white-knuckle, you're already late."
A relaxed grip is also injury prevention. Constant tension in the wrist and forearm leads to tennis elbow, and in padel it's exactly the players who strangle the racket and swing with the arm alone — no body — who get it.
One grip for everything: where it works and where it doesn't
The universality of the continental grip isn't dogma — it's a working compromise. It helps to understand why it beats the familiar tennis grips, and where its limits are.
| Grip | How to get it | What it gives you in padel | Verdict |
|---|---|---|---|
| Continental ("hammer") | "V" on the top-left bevel of the handle | Plays forehand and backhand with no switch, adds slice, works on every overhead | The base grip — learn it |
| Eastern forehand (tennis) | Palm moves onto the back face | A powerful flat forehand, but the backhand and volley are cramped and there's no time to switch | Not for padel |
| Western (extreme forehand) | Palm well under the handle | Heavy topspin on the forehand, but the volley and overheads become nearly impossible | Absolutely not |
The takeaway is simple: learn one continental grip and leave it alone. Advanced players sometimes turn the hand a microscopic amount — a touch toward the backhand on the víbora or on a sliced defence off the glass — but those are intuitive fractions of a millimetre that come with years, not separate grips to memorise. A beginner or mid-level amateur has no need to change grips per shot, and doing so hurts.
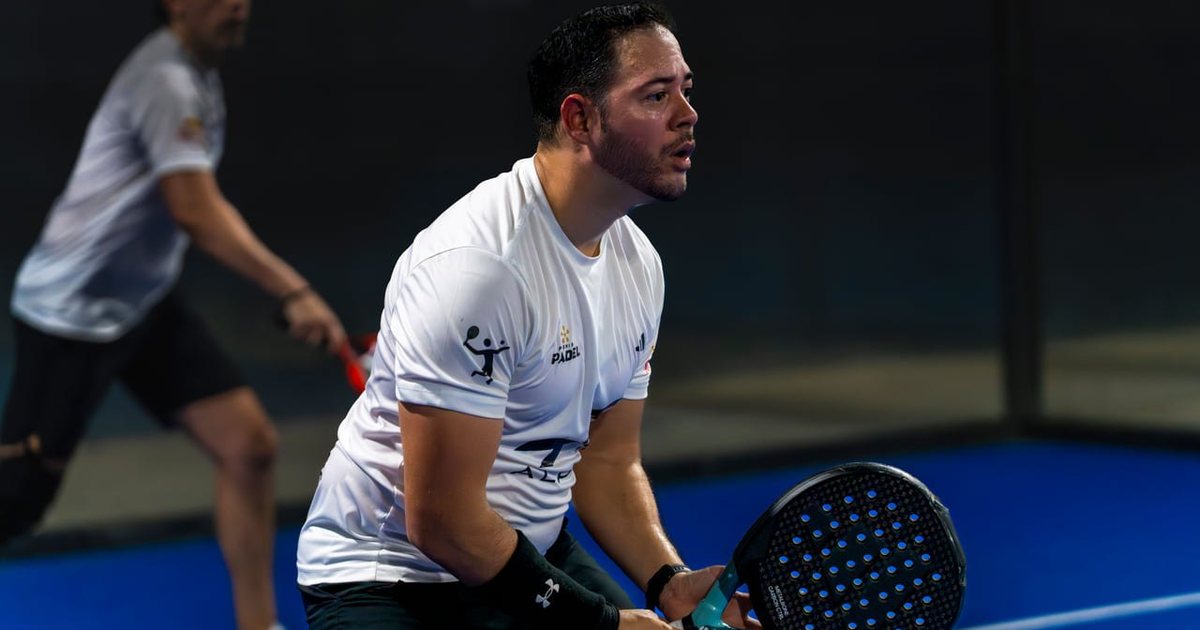
The neutral grip and the ready position
The grip doesn't live in a vacuum — it's part of the ready position at the net, and that's where the continental grip shines. A good stance looks like this:
- Feet a little wider than shoulder-width, knees soft, weight on the balls of your feet.
- The racket up in front of your body, head roughly at eye level.
- Your free hand cradles the throat of the racket. This isn't decoration: it balances the racket, takes load off your hitting hand, and helps you turn your body instantly to either side.
- The grip is a neutral continental, hand relaxed and ready to play either way.
That free hand on the throat is an underrated detail. As long as both hands hold the racket, your grip is "anchored" in neutral and you don't drift into a forehand hold while you wait. The instant the ball comes, the free hand releases, the body turns, and you strike with the grip already set. For more on who stands where at the net, see our piece on court positioning.
Grip size, overgrip and sweaty palms
The grip isn't just your fingers — it's also what you're holding. Three practical points that directly affect your hand position.
Handle size
Padel handles are noticeably thinner than tennis ones and, on most models, close in circumference — makers keep them compact precisely for fast switches at the net. You fine-tune the thickness and feel with an overgrip: a single wrap adds only millimetres. Simple guide: holding the racket with a continental grip, you should see a small gap between your fingertips and the base of your thumb. Too thin and the hand instinctively squeezes harder (hello, tension). Too thick and you lose the feel of the edge.
Overgrip and base grip
The factory grip hardens and goes slick over time. Most players wrap a replaceable overgrip over it — it both adjusts the thickness and gives fresh tack. Change it once it's shiny and slippery: usually every few weeks with regular play.
Sweaty palms — a local reality
In the Tashkent summer this is no small thing. A damp hand slides on the handle, you instinctively squeeze harder, and all your work on relaxed pressure goes out the window. What helps: an absorbent overgrip, a spare dry one in the bag, a towel at the net, and — when it's really hot — playing in the cooler hours. For how we match a racket to hand and level in the first place, see our guide on choosing your first racket.
Common grip mistakes
Almost every grip mistake amateurs make is a "legacy" of tennis or everyday habits. Here are the ones we correct most often.
- A tennis forehand grip. A player from tennis takes the racket "for the forehand" — and gets stuck fast on the backhand and volley. Fix: go back to the "handshake," check the "V" on the top bevel.
- Switching grips per shot. Trying, "like in tennis," to turn the hand for forehand and backhand. At the net there's no time. Fix: one continental grip for everything; drill volleys with no switch.
- The death grip. Squeezing the racket with all your might. Fix: pressure 4–5 out of 10, relax the wrist between shots.
- Gripping too high up the handle. The hand creeps toward the throat and you lose leverage and depth. Fix: hold nearer the butt, leaving about a finger's width to the end.
- A "wandering" wrist. The grip is right, but the wrist moves at contact. Fix: lock the wrist; the racket is an extension of your forearm.
- A slick old grip. The player squeezes harder because the racket twists. Fix: a fresh overgrip solves it in five minutes.
Many of these habits show up in your very first weeks on court — we gathered them in our piece on first-month mistakes.
How to groove the grip: drills
You can't "understand" the grip — you have to wire it into your hand with repetition, so the right hold becomes automatic under the pressure of a rally.
Drill 1. The "blind grip"
Close your eyes, set the racket on the ground, pick it up and take a continental grip. Open your eyes and check the "V." Repeat 15–20 times. The goal is for your hand to find the grip on its own, without looking.
Drill 2. Wall volleys with no switch
Stand 3–4 metres from a flat wall and play forehand and backhand volleys with one grip, without turning the hand. 3 sets of 20–30 touches. If both sides come off, the grip's universality is working.
Drill 3. Pressure control
Play a soft exchange at the net, consciously holding the grip "at a four." The aim is to feel how a relaxed hand gives more control, not less. Squeeze the handle only for the instant of contact.

The grip sets fastest under a coach's eye: they catch a forehand hold or a clenched wrist in the moment and fix it before the error sets in. Find a specialist in the PlayPadel coaches section, and drill it on any of the Tashkent courts. Once the grip is automatic, test yourself at an amateur tournament in the events section — it's under match pressure that you see how solidly you've wired the right hold.
Frequently Asked Questions
What grip do you use in padel?
The continental grip, also called the "hammer" grip. It's the only grip most players need: it lets you play both forehand and backhand with no switch, works on the volley and every overhead, and naturally adds a little slice for control.
How is the continental grip different from a tennis grip?
A tennis forehand grip moves the palm onto the back face of the handle — powerful for the forehand but awkward for the backhand and volley. The continental grip is a compromise in the middle: it plays both shots with a single hand position, which is critical in padel, where there's no time to switch.
How tightly should I hold the racket?
About 4–5 out of 10 — secure, but without tension. A death grip kills feel and quickly tires the forearm. You can firm up for the instant of contact, but relax the hand between shots.
Do I need to change grips for forehand and backhand?
No. Padel is played with one continental grip because there's no time to switch at the net. Advanced players sometimes turn the hand a microscopic, intuitive amount, but there's no need for a beginner to memorise separate grips per shot — and it actively hurts.
How do I find the right grip quickly?
Stand the racket on its edge and "shake hands" with the handle, the way you'd shake someone's hand — your palm lands on the side. Or imagine hammering a nail with the racket's edge. Then check that the "V" between thumb and index finger sits on the top bevel of the handle.
Does the overgrip affect the grip?
Yes. The overgrip adjusts handle thickness and tack. Too thin a handle makes you squeeze harder; too thick and you lose the feel of the edge. A fresh overgrip matters especially in the heat, when a sweaty palm slides and you instinctively strangle the racket.
The blog's deepest column: advanced shots (bandeja, víbora), positional play, periodised training and honest gear breakdowns — grounded in the experience of Tashkent's playing coaches.
Related articles
 Technique
The Padel Return: How to Take Control Early
The return is the most underrated shot in padel. Learn the ready position, three return options and a step-by-step technique to stop gifting away points.
 Technique
The Padel Volley: How to Win at the Net
The volley is the workhorse of net play — it's how you finish points. Grip, high vs low volley, footwork, where to aim and drills to build control.
 Technique
The bajada: counter-attacking off the back glass
The bajada is padel's most aggressive baseline shot. Learn to read the lob, meet the ball coming off the glass at the right height, and turn defence into offence.